How to Create a Facebook Ads Campaign: A Step-by-Step Guide
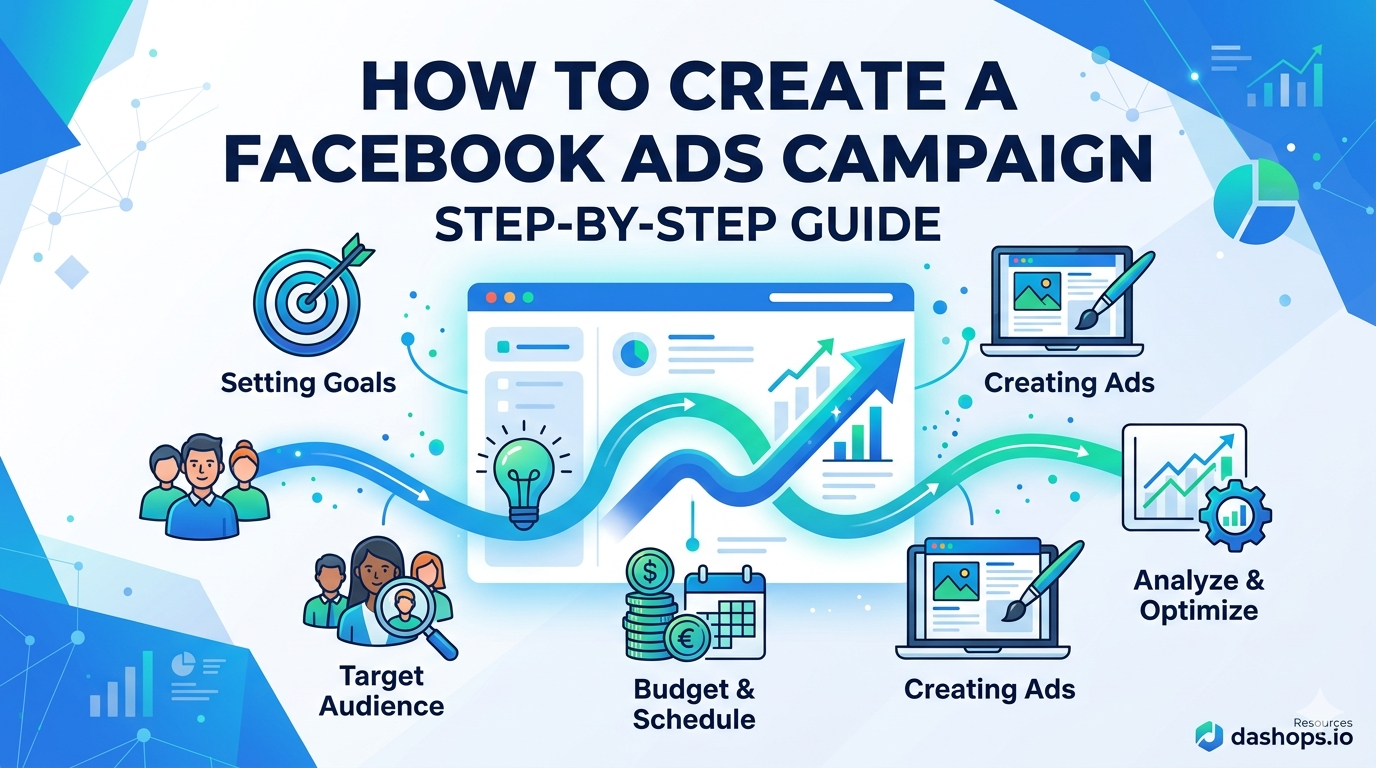
Creating a Facebook Ads campaign for the first time can feel like a lot of switches and menus. It is actually a short, logical sequence: tell Meta what you want, who you want to reach, how much to spend, and what the ad looks like. This guide walks through it step by step, whether you advertise for your own business or for clients.
Step 1: Pick the right objective
Every campaign starts with an objective, and it is the most important choice you make. The objective tells Meta what success looks like so it can optimize delivery toward the right people.
- Awareness for reach and brand recall.
- Traffic for clicks to your website or destination.
- Engagement for messages, video views, or post interaction.
- Leads for form fills, either on an Instant Form or your site.
- Sales for purchases, usually paired with a pixel or conversions API.
Choose the one that matches the action you actually care about. Optimizing for clicks when you want sales will get you cheap clicks and few customers.
Step 2: Set up the ad set
The ad set is where you define who sees the ad and how the budget is spent. Three things matter most here.
- Audience. Start broad enough that Meta has room to optimize. You can target by location, age, and interests, or use a custom audience built from your own data and a lookalike of your best customers.
- Budget and schedule. Set a daily or lifetime budget and a start date. Give the campaign enough budget and time to leave the learning phase before you make changes.
- Placements. Advantage placements let Meta show your ad across Facebook, Instagram, and more. That is usually the right default unless you have a clear reason to restrict it.
Step 3: Build the ad
This is the creative your audience actually sees. A strong ad pairs a clear image or video with a short, specific headline and a primary text that leads with the benefit. Add a call to action button that matches your objective, like Sign Up for leads or Shop Now for sales. Test more than one version so Meta can find the winner.
Step 4: Review and publish
Before you publish, check that the destination link works, the budget is what you intended, and the ad has no policy issues flagged. New ads go into review, which is normal and usually quick. Once approved, delivery begins.
Step 5: Read the results, then adjust
Publishing is the start, not the finish. The first few days are noisy, so resist the urge to change everything at once. Watch the metric tied to your objective, like cost per lead or return on ad spend, and a small supporting set like click-through rate and frequency to understand why it moves. Our guide to the Meta Ads KPIs that matter breaks those down.
If you manage more than one campaign or ad account, pulling all of this into one place saves real time. DashOps lets you create and edit campaigns and read every result across all your ad accounts in a single dashboard, with period-over-period comparisons so you can see what changed. You can see what is included on each plan on the pricing page, and the help center covers setup.
Start simple, give each campaign room to learn, and let the numbers guide the next change.
Frequently asked questions
Do I need a Facebook Page to run ads?
How much should I budget for my first campaign?
What objective should I choose?
See it in your own dashboard
DashOps brings Meta Ads reporting, campaign management, and white-label client portals into one place. Pick the plan that fits how you run ads.